Here are the step by step guide and photo showing how I did this lovely parchment box.
Step 1:
Find your design pattern, position your vellum paper and use masking tape to tape it down.
Step 2:
Trace the lines with emboss tool, i use #2 emboss tool for the line tracing.
Step 3:
Remove the pattern and re-trace the design to make the embossing more obvious. For area you wanted to fill in, like the border of the heart shape, flowers and leaves, you can use a bigger emboss tool (#4 or #5 emboss tool) to fill up the area. Control your pressure on the leaves so it will look like gradient. the area you increase pressure, it will be whiter. make sure you don't put too much pressure or the paper will tear.
Step 4:
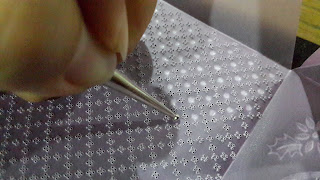
flip over the paper to the outer box to use the needle perforating tools for the heart and the 5 needle pattern. this will be easier if you have the heart shape perforating needle and the flower pattern 5 needle perforating tool. if you don't have them, you can still use the 1 needle perforating tool to do it by placing the pattern paper below the vellum paper and poke the design accordingly.
Step 5:
If you use the shape needle (shape that is form from a lot of needles, like the heart shape perforating needle tool), you need to do it twice to have a nice obvious heart shape, if you poke too deep the first time, it's very difficult to remove the needle tool from the paper. you need to align the needle again to do the second round. I personally prefer to use the 1 needle perforating tool to do the second round for a much more nicer look.
Step 6:
Use the #5 needle to poke around the top edge of the box like shown in the photo below.
after you poke, hold the perforating needle tool and twist left and right to make the 4 holes at the side bigger

Step 7:
Use the 2 needle to poke around the edge of the box. To make sure you have event spacing between each dot, always aim 1 of the needle to the previously poked hole as guide and poke down the 2 needle so get the 2nd hold with the same spacing.
Step 8:
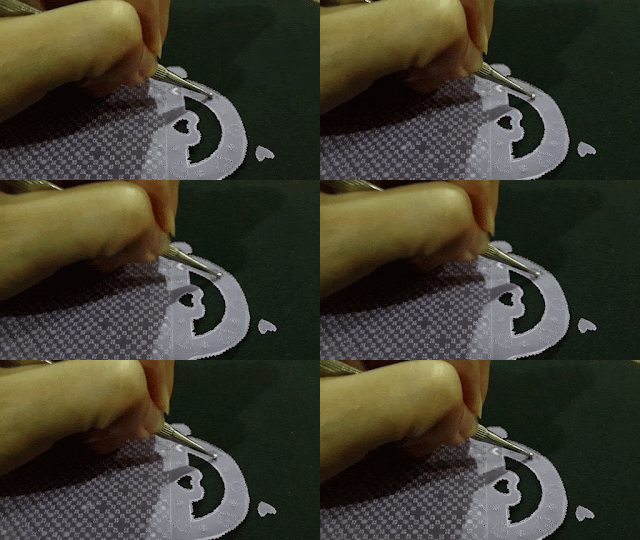
Use the curve scissor to cut the edge. You just need to use the tip of the scissor, place it in 2 holes and lightly cut it. You should get the "v" looking edge. sometime it helps to twists your scissor slightly to 1 side just before you cut. You need some practice on this to get the hang of it. All cutting uses this technique.
Step 9:
The area where there's suppose to be a hold, use a pen knife to cut it out.
For the inner heart shape area, with the help of the plate, use the outer side of the paper, poke the holes with #1 or #2 perforating needle tools following the pattern shown in A. Turn over the paper so you are using the inner box side to do the embossing of the dots. You can leave the design as it is after all the dots. or you can also choose to have a mixture design of dot and cut out as shown is step 11.
Step 11:
if you choose to have a mixture, you will have alternate of dot and cut out. I use the outer box side to do the cutting. See red line shown below for where to cut.
Also at the outer box side, with the help of the plate again, poke the holes following the pattern shown in B on the 2 surface without the heart shape (i'll be referring this as surface B). you can sppe this up if you use the 4 needle perforating tool.
Step 13:
Flip over to the inner box side and do the embossing. I use the #4 emboss tool.
Step 14:
Remember to do the embossing for the heart shape too.
Step 15:
Flip to the outer box side, poke the heart shape either with the heart shape perforating needle or 2 needle and cut out the middle heart needle. I left out some of the dots on the surface B, just 2 rows alternate ones and cut them out too.
After you are done, just glue up the side of the box and fold it into a box.


